Before you can use the Forecasts Integrator, you need to complete the Settings Form. The settings values will generate a layout for the Forecasts sheet. Follow the instructions below to complete the Settings Form:
1. Click on the ‘Settings’ icon the menu bar to launch the Settings form.
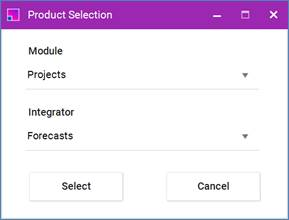
2. Select ‘Forecasts’ from the list of Integrators and click ‘Select’.
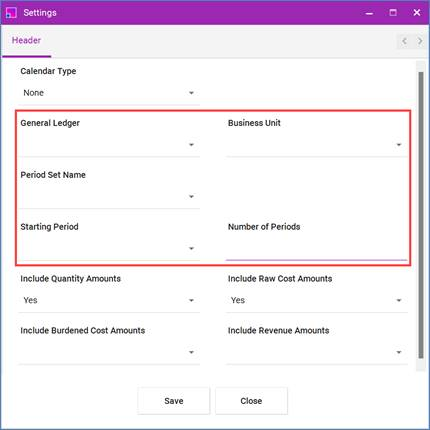
3. Complete the fields on the form.
For non-phased Forecasts, select Calendar Type of ‘None’ from the List of Values. You do not need to select / enter any of the fields that are shown in the red rectangle for a non-phased Forecast.
For period-phased Forecasts, select either the ‘Project Accounting Period’ or ‘Accounting Period’. Depending on which period-phased Calendar Type you select, you will be required to either select a Ledger from General Ledger List of Values or a Business Unit from the Business Unit List of Values. Starting Period and Number of Periods must be specified so that the tool knows how many periods to generate on the sheet.
The following Amount Type fields have the option to select a ‘Yes’ value and at least one must be selected for both non-phased and period-phased Forecasts:
a. ‘Include Quantity Amounts’
b. ‘Include Raw Cost Amounts
c. ‘Include Burdened Cost Amounts
d. ‘Include Revenue Amounts
Each Amount Type/s with a ‘Yes’ value will generate a set of period column headings based on the number of periods on the Settings form.
4. Click on the ‘Save’ button
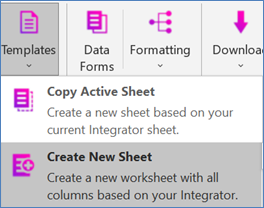
5. Select ‘Templates’ from the More4apps ribbon and select ‘Create New Sheet’.
6. Select ‘Forecasts’ from the list of Integrators and click ‘Select’.
A Forecasts layout will be created based on the values on the Settings form.