Managing your Instance List
Adding Instance URLs
Follow these steps to set up your login form with Instance URLs.
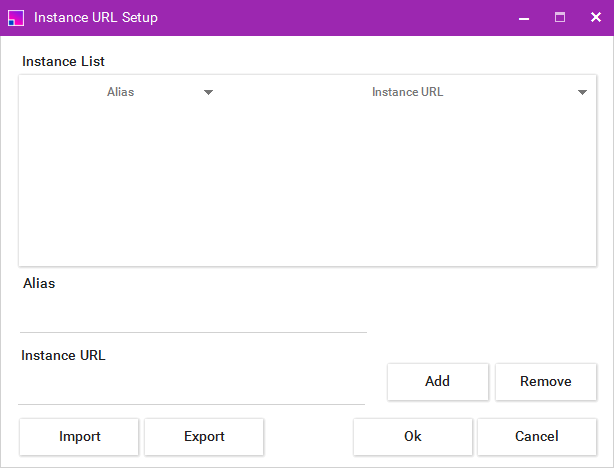
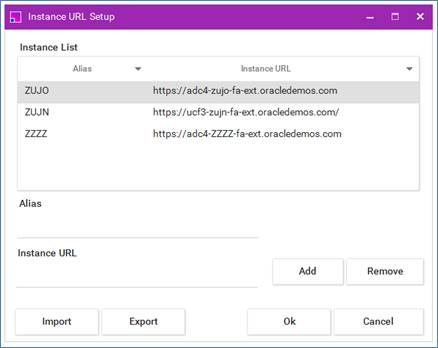
1. Click the ‘Instances’ button in the login form. The following form will appear:
2. Enter your desired values into the Alias and URL fields.
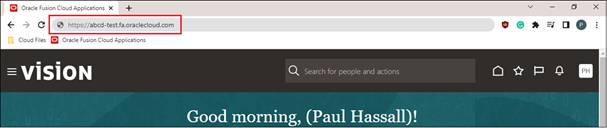
a. To obtain your Instance URL, log in to your Oracle Cloud homepage through your browser.
b. Copy the URL shown in your browser address bar.
c. Paste the copied URL into the ‘Instance URL’ field.
3. Click ‘Add’.
4. Repeat steps 1-3 for additional instances then click ‘Ok’.
Removing Instance URLs
1. Click ‘Instances’ in the Login form.
2. Select the URLs you wish to remove in the list. Multiple can be selected at once by using Ctrl + Click.
3. Click ‘Remove’.
4. Click ‘Ok’.
Exporting the Instance List
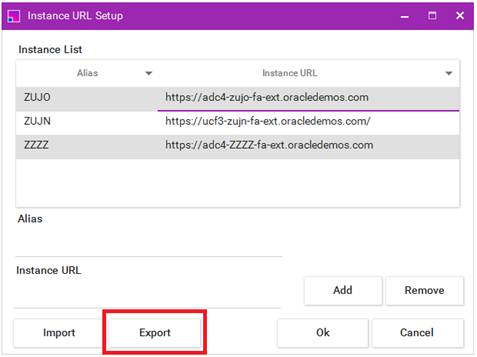
1. Open the Instance URL Setup form.
2. Click Export to generate the URL list file for all connections.
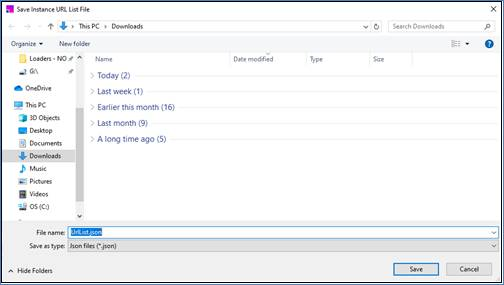
3. Save the file to a common location or directory where it can be located easily.
4. Click Save to complete the export process.
Importing the Instance List
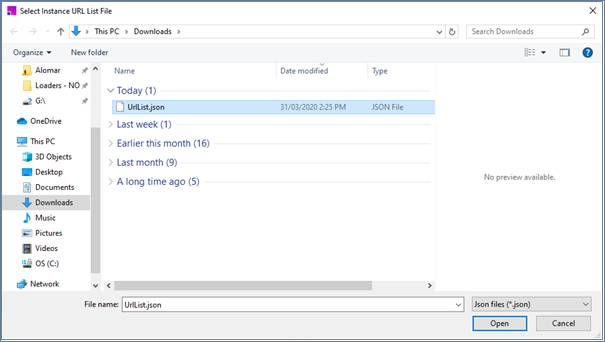
1. Open the Instance URL Setup form on a different device.
2. Click Import.
3. Select the export file from the step above and click Open.
4. Instance URLs will be imported into the form.
5. Click Ok to store the instance connections.
Note - Importing will overwrite any previously stored URLs.