To set up your template follow the steps below. If you already have a sheet set up, please skip to step 8.
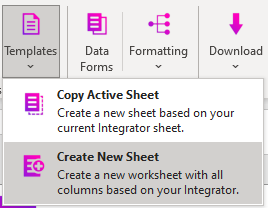
1. Click the Templates button .
2. From the dropdown, click ‘Create New Sheet’.
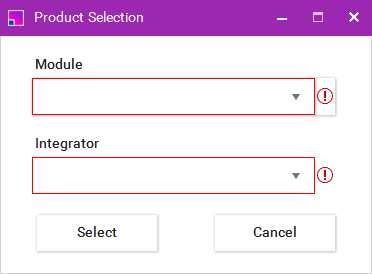
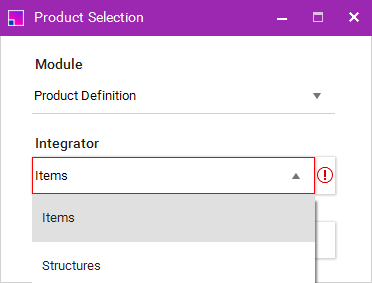
3. The Product Selection form will appear then proceed to select your desired Integrator using the form controls.
4. Click the Select button.
5. The sheet builder form will open, providing a list of all available fields and their descriptions. You can search, select and deselect fields/sections as required. Click ‘Create’ to generate your sheet.
Tip, use the topmost check box to select and deselect all fields.
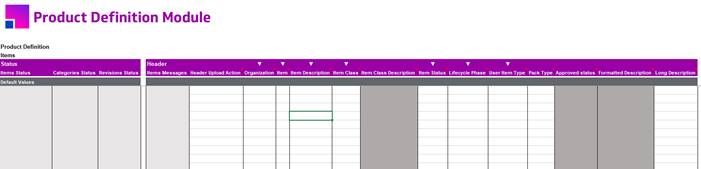
6. A new sheet will be created that contains all fields you had selected in the designer. Columns can be manually removed using Excel if necessary.
7. To recreate your template, ensure your template you want is active.
8. Click the Copy Active Sheet option from the Templates dropdown. A new sheet will be created along with all information from rows 1-10 from your previous sheet.